3D Scanning & Printing
Objectives of the week
- Test the design rules for your 3D printer(s)
- Individual assignment:- design and 3D print an object (small, few cm3, limited by printer time) that could not be made subtractively
- 3D scan an object (and optionally print it)
1. Group assignment
2. Individual assignment
Learning outcome
- To understand 3D Printer machine
- Use of 3D design S/W such as Solid work
- Print the 3D model on 3D printer
- To understand better use of third part software such as Factory
- 3D Scan of composter
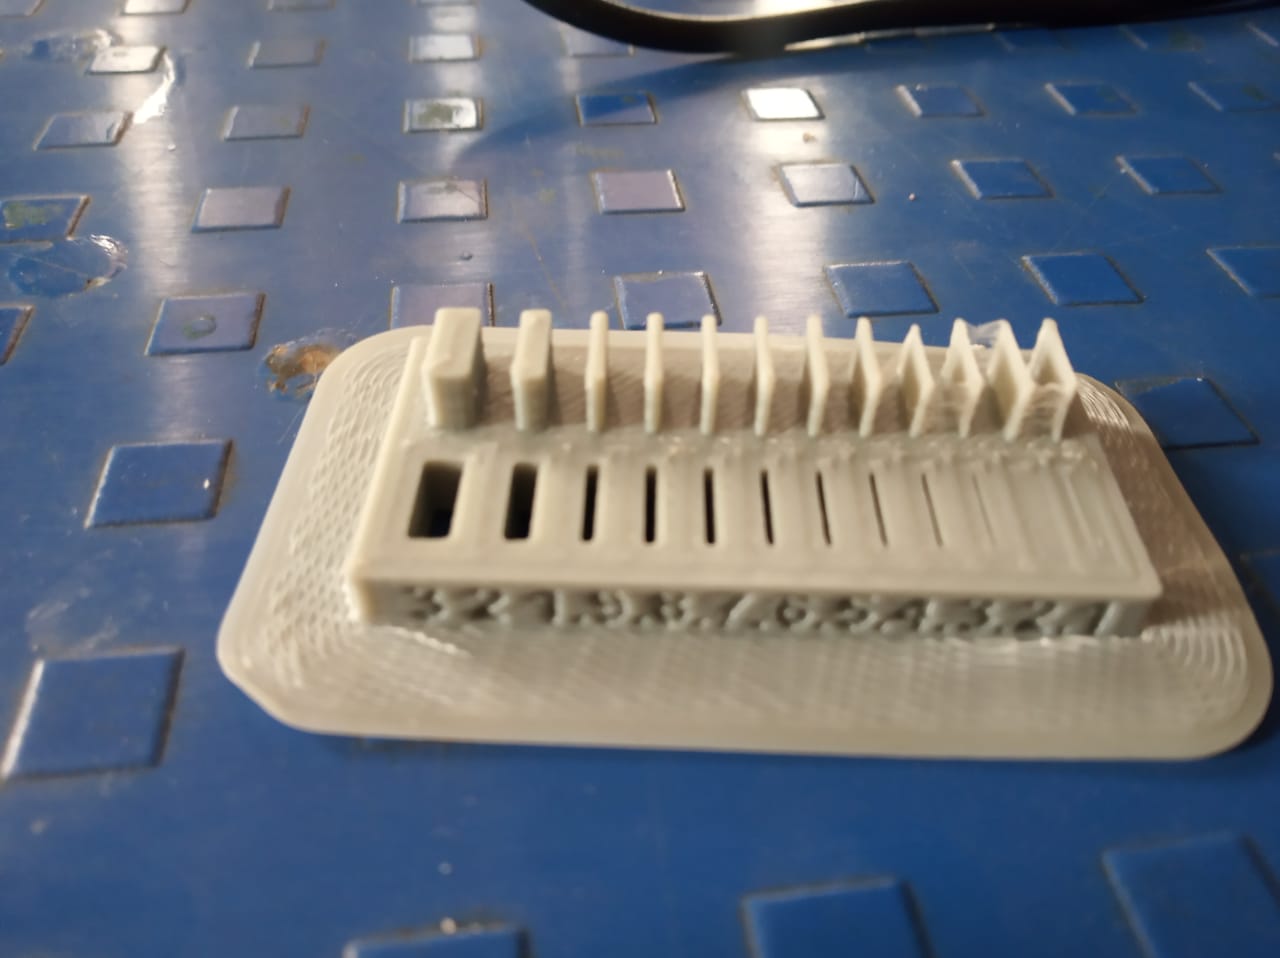
Wall thickness
Wall thickness, also known as shell thickness, is the thickness of the outer walls of your design. In manufacturing, you always want to use as little material as possible, or just as much as you need.This goes for 3D printing, as well. The added luxury is that you can decide the material thickness of your project’s walls, top, and bottom when you prepare the 3D print file for your 3D printer.


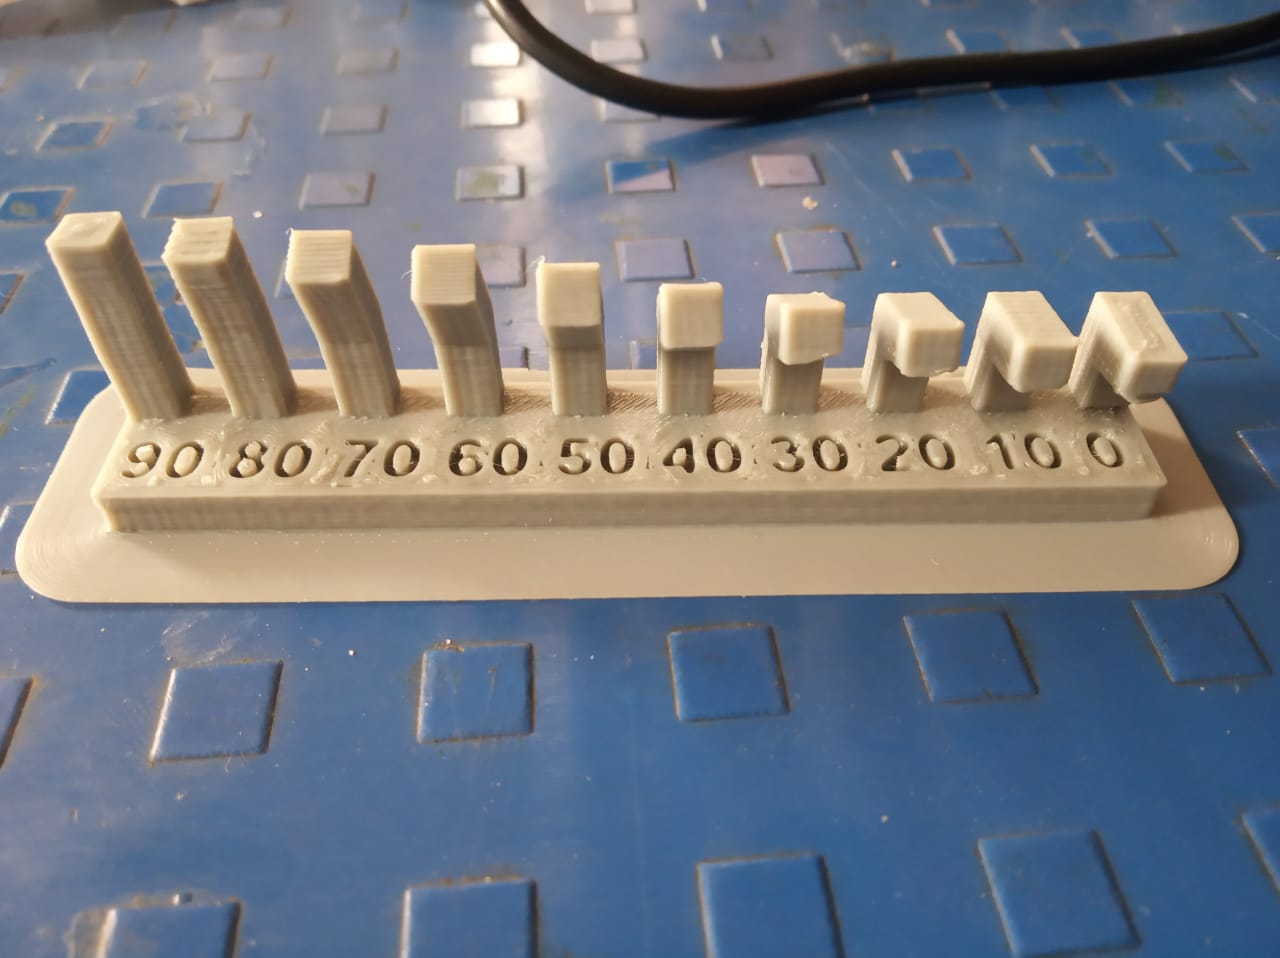
overhang distance
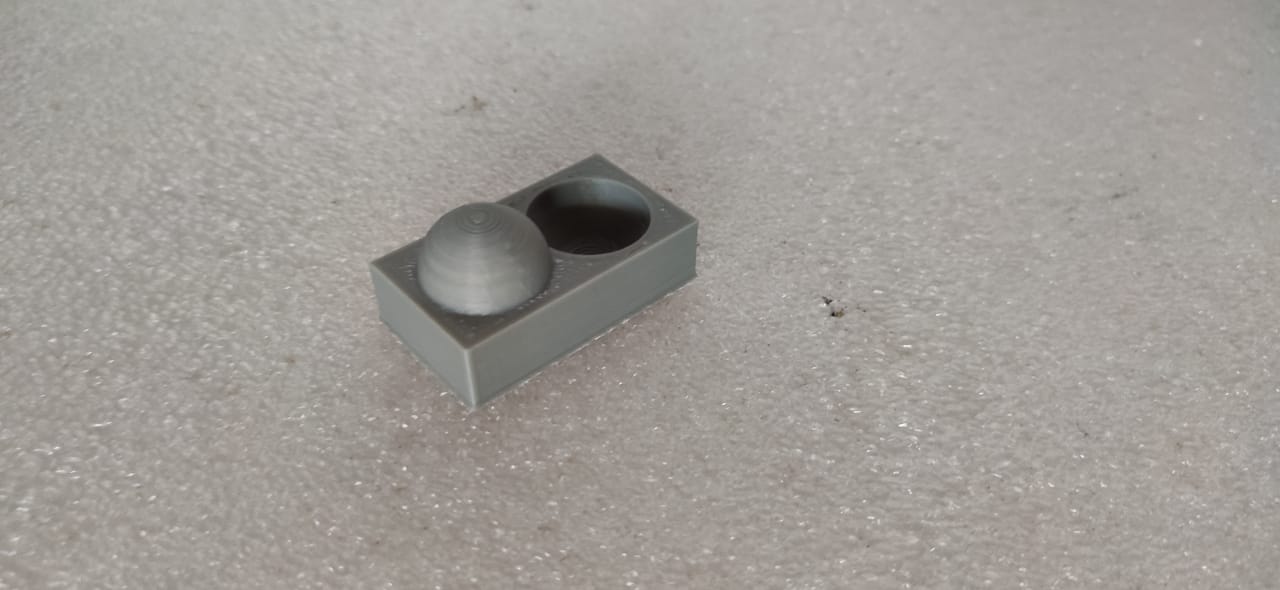
In general, when your model has an overhang or a bridge which is not supported by anything below, you may need to use 3D printing support structures to be able to 3D print it. Here are some examples of overhangs and bridges illustrated with the help of the letters Y, H, and T.

Surface finishing
If you are looking for a way to smooth your prints after you remove them from the build plate ,sanding is a really great alternative. In order to use these sanding techniques to completely smooth your model , you will need the following things
We print our model with standard setting of 0.2mm layer height, 20% in fill and 2 shell.Once your part is free from the bulid plate ,remove rafts and supports material from the model,Be sure to wear mask.Now all support material has removed ,You can begin the sanding process.Sanding will produce small particles of filament so wear a mask start with sand paper.

